Resizing images is one of the most common tasks in editing photos, whether you are arranging visuals for website, social media, presentations, or print. GIMP (GNU Image Manipulation Program) is a free, powerful, and publicly accessible option instead of a paid tool like Photoshop. In this guide, you’ll learn how to resize an image in GIMP easily and properly while maintaining and managing the quality, clarity, and proportions of an image.
This article will walk you through every step from opening your image to exporting the resized version of your image, along with pro tips, common mistakes, and best practices.
Why Resizing of Image Matters?
Before going into the steps, it is important to know and understand why resizing images correctly is important:
- Optimizing Performance: Images in small size load faster on Websites.
- Correct Scale: Social media platforms and websites need images in specific sizes.
- Efficient Storage: Reduced size of image saves space in the disk.
- Workplace appearance: Properly scaled images look cleaner and more polished.
Knowing how to resize an image in GIMP helps preserve clarity and removes unwanted distortion.
Step 1: Install and Set Up GIMP
If you don’t have the installed GIMP, then download it from the official GIMP website for Windows, macOS, or Linux. Once it is installed, open the application to access the main workspace.
Step 2: Open the Image For Resizing
To start the resizing of the image, first you need to load your image into GIMP.
How to open an image:
- Click on the File in the top menu.
- Next, select the Open icon.
- Finally, go to your image location and click on the Open button.
Alternatively, you can also use drag and drop an image into the GIMP window directly.
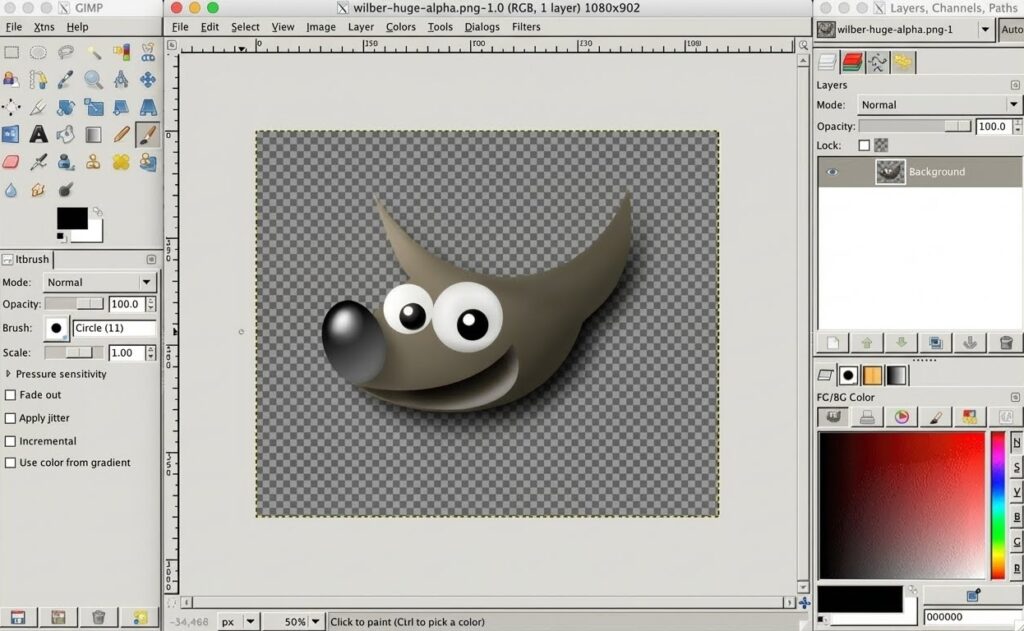
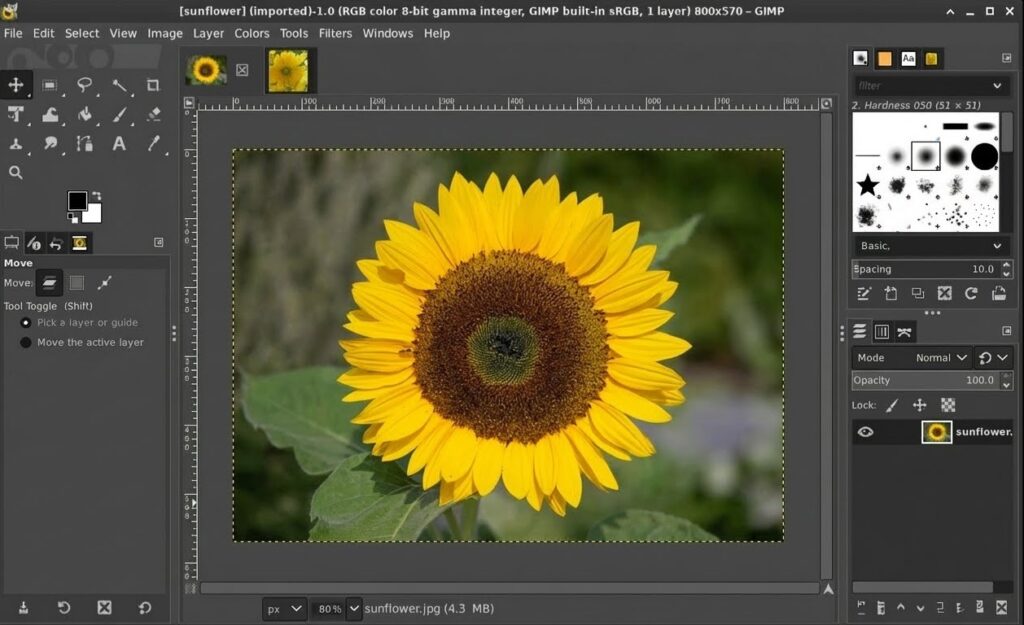
At this level, your image will appear on the canvas, which is now ready for editing.
Step 3: Know Image Size vs Canvas Size
Many beginners get confused between image size with canvas size, but they both have different purposes:
- Image Size: It scales the entire image and its contents.
- Canvas Size: Canvas size helps to change the working area without scaling the image itself.
If your need is to make the image larger or smaller overall, you must first adjust the image size. This difference is important for correct learning how to resize an image in GIMP correctly.
Step 4: Use the Image Scale Tool
Now comes the main resizing step of an image.
To access the Image Scale:
- Go to the Image in the top menu.
- Lastly, click on the Scale Image.
A dialog box will be displayed at the screen, which will let you select a new size for the image.
Step 5: Select the New Dimensions For Image
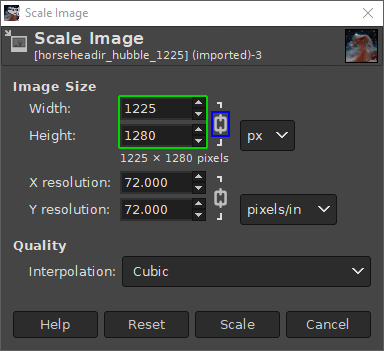
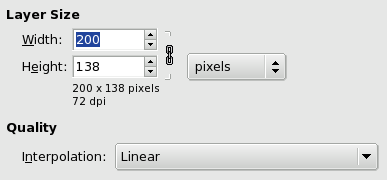
In the Scale Image dialog box, you’ll find width and height container which is typically measured in pixels.
Key Options Explained:
- Width & Height: Enter your desired size scale
- Chain Icon: Keep this scale locked to maintain aspect ratio.
- Units: Inches, Centimeters, Pixels, or Millimeters
- Resolution (X and Y): It is important for print images.
For example:
- Size scale of Social media post: 1080 × 1080 px
- Size scale of Website banner: 1920 × 600 px
Keeping the chain icon on helps to stop the image from stretching or squashing.
This step is central to resizing an image in GIMP without causing distortion.
Step 6: Select the Right Interpolation Step
Interpolation defines that the pixels are recalculated method, GIMP uses during resizing the image.
Options recommended are:
- LoHalo / NoHalo: These are best for photos.
- Cubic: It keeps a good balance between the quality and speed of the image.
- Nearest Neighbor: Useful for pixel art or icons.
The interpolation options are at the bottom of the scale image dialog box, and choosing the required one will help to maintain the sharpness and details of the image.
Step 7: Select the Resize Option
Once you’ve applied the new size for the output image and selected the interpolation method:
- Then, click on the Scale.
- Now, GIMP will instantly resize the image.
You’ll now see the updated image size on the canvas.
This confirms that you’ve completed the main steps of how to resize an image in GIMP successfully.
Step 8: Resize for Web vs Print (ProTip)
For Web Use:
- Resolution size: 72-96 PPI
- Color mode: RGB
- File format type: JPG or PNG
For Print Use:
- Resolution size: 300 PPI
- Color mode: RGB (or CMYK if needed)
- File format type: TIFF or JPG (High Quality)
If you only need the print quality improvements, adjust the resolution size inside the Scale Image dialog box without changing the pixel dimensions.
Step 9: Export the Final Resized Image
The Resizing of an image isn’t complete until you have exported the image file.
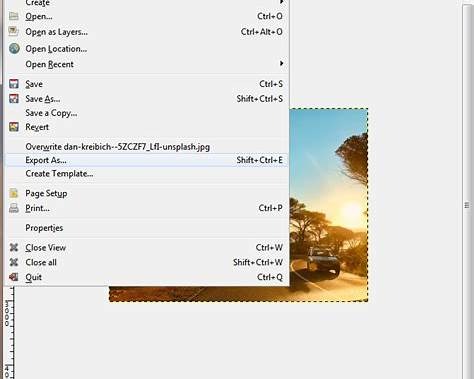
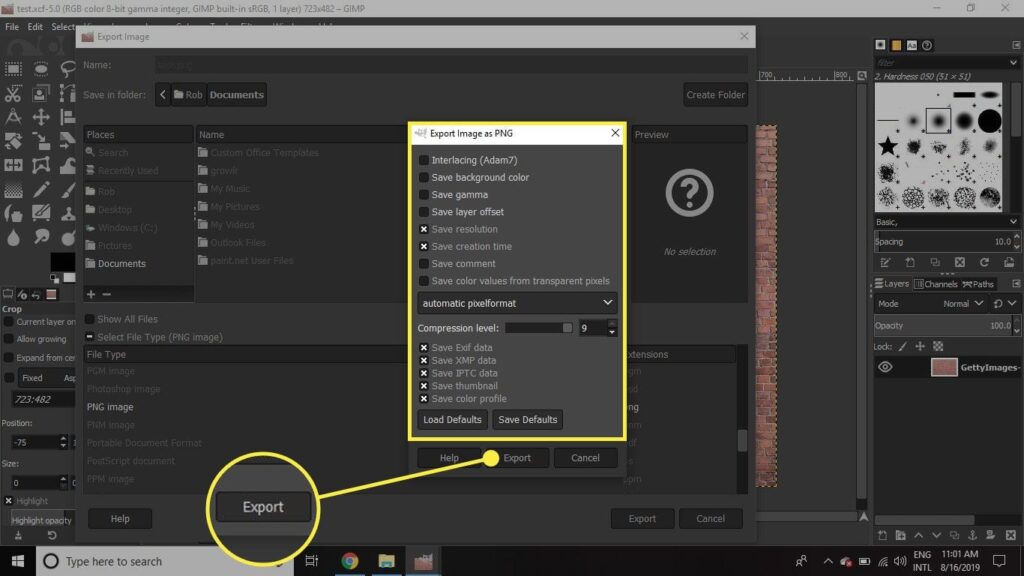
How to export:
- At first, click on the File and choose the Export As option.
- Now, choose the file format in JPG, PNG, WebP, etc.
- Next, search a Location to save the final image.
- Adjust the quality settings if required.
- Finally, click on the Export button.
Exporting properly ensures your resized image is ready for use online or offline.
Common Mistakes You Should Avoid
While learning how to resize an image in GIMP, go through these common errors:
- Accidentally unlocking the aspect ratio
- Enlarging small images excessively causes loss of clarity.
- Choosing low-quality interpolation settings.
- Resizing the image without exporting the final file.
- Mistaking the canvas resizing option for image resizing.
Avoiding these mistakes will give you professional-quality image outcomes consistently.
Pro Tips for Better Results
- After resizing the image smaller, use Filters, then Enhance, and select Sharpen (Unsharp Mask)
- Work on a duplicate layer so the original stays unchanged.
- To resize multiple images at once, go to File → Batch Image Manipulation Plugin (BIMP).
- Save your project as .XCF before exporting.
These techniques elevate your understanding of how to resize an image in GIMP.
Resize a Single or Multiple Images Using GIMP (with an Online Alternative)
For those who don’t use Photoshop or want a free desktop alternative that’s more powerful, GIMP (GNU Image Manipulation Program) is a great option for image resizing. If you need an affordable editor to gain professional control over your images, GIMP ticks every box you could ask for, being open-source and available on Windows, macOS, and Linux. However, if you want something quicker without the need for installation, A browser-based tool Oualator Image Resizer can be a good alternative as well. Here are the steps you can use to resize the image using this online tool:
- Visit this online free tool.
- Tap on Upload Image to upload the image of your picture.
- Choose your dimensions or enter them [preset sizes or target Size]
- Set Maintain aspect ratio to have the proportions of the image.
- Click the “Resize Image” button.
- Save the resized image instantly by tapping on the “Download” tab.
How Oualator Is Helpful As a GIMP Alternative?
- No installation required
- Accomplishes the same performance in any browser (PC, Mac, or Mobile)
- Compatible with standard formats — JPG, PNG, WEBP, etc.
- Quick and easy for web, social and blog images
- 100% free to use and client side conversion.
Final Thoughts
When you understand the workflow, GIMP makes image resizing both powerful and easy. From opening your image to choosing the appropriate interpolation method and exporting it properly, every step provides a way to achieve clean and professional results. Learning how to resize an image in GIMP will give you full control over your image quality, performance, and presentation without spending anything on a paid tool. These skills are important and useful for developers, bloggers, designers, and students.
A technical content writer specializing in in-depth tech blogs, she tracks evolving technologies and industry shifts. Before writing, she leverages advanced tools for research and validation. Constantly updating her knowledge, she delivers accurate, trend-driven, and future-ready content for digital audiences.
Real clean website , thanks for this post.
Awesome article.